
The Wonders of Drip Irrigation
In an era where water conservation is paramount, innovative solutions for efficient water use are increasingly vital. Drip irrigation stands out as a revolutionary method for watering gardens and landscapes, offering remarkable water savings while promoting healthier plant growth. This system distinguishes itself by delivering water directly to the root zone of plants, drop by drop. This targeted approach significantly minimizes water waste through evaporation and runoff, ensuring that every drop of water is utilized effectively where plants need it most.
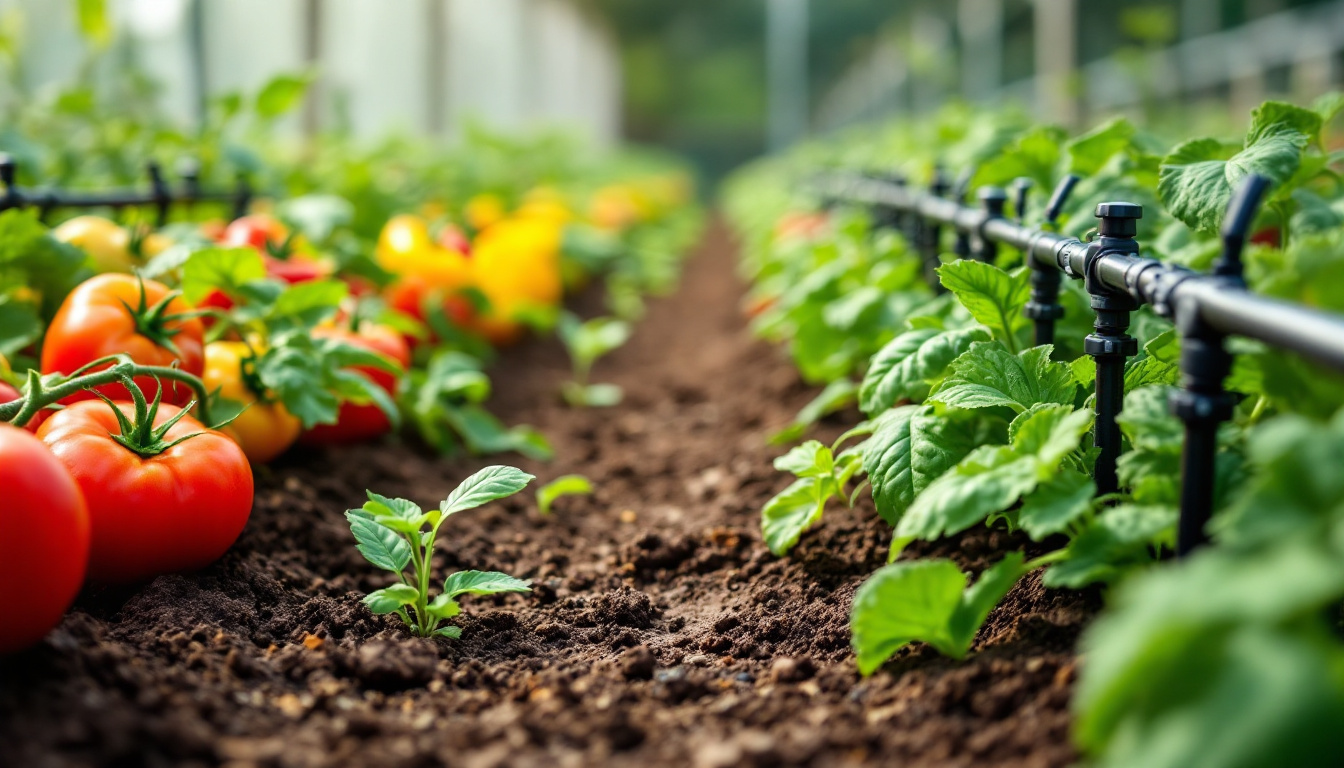
At its core, a drip irrigation system is composed of several key components working in harmony. Tubing acts as the water transportation network, carrying water throughout the garden. Emitters, strategically placed along the tubing, are responsible for the slow and controlled release of water directly to the plant roots. Filters are crucial for maintaining system efficiency by removing debris and preventing clogging of emitters. Finally, pressure regulators ensure a consistent water flow, regardless of variations in water pressure, which is essential for uniform water distribution across the entire system.
The benefits of drip irrigation extend far beyond simple water conservation. Compared to traditional watering methods like sprinklers, drip irrigation can slash water usage by up to 50%, translating into substantial savings on water bills and a reduced environmental footprint. Moreover, this method fosters healthier and more vibrant plants. By providing a steady and precisely tailored supply of moisture directly to the roots, drip irrigation minimizes water stress and promotes optimal nutrient absorption, leading to stronger, more resilient, and more productive plants. Embracing drip irrigation is not just an environmentally conscious choice, but also a pathway to a thriving and flourishing garden.
Planning Your Drip System for Success
Effective drip irrigation begins with careful planning tailored to the specific needs of your garden. The first step is to thoroughly assess your garden’s unique characteristics. Consider the variety of plants you are growing, as different species have varying water requirements. Understand their mature size and spacing to ensure emitters are placed appropriately. Analyze the layout of your garden beds and planting areas to determine the most efficient routes for tubing and emitter placement. Taking the time to understand these specific needs will lay the foundation for a system that optimally serves your garden.
Next, it’s crucial to calculate the total water flow requirements for your garden. This involves determining the water needs of each plant type and the number of plants in your garden. This calculation will guide you in selecting the appropriate size and type of emitters, ensuring that each plant receives the correct amount of water. It also informs the choice of tubing diameter to adequately supply water to all emitters without pressure loss. Accurate calculation prevents both underwatering and overwatering, both of which can be detrimental to plant health.
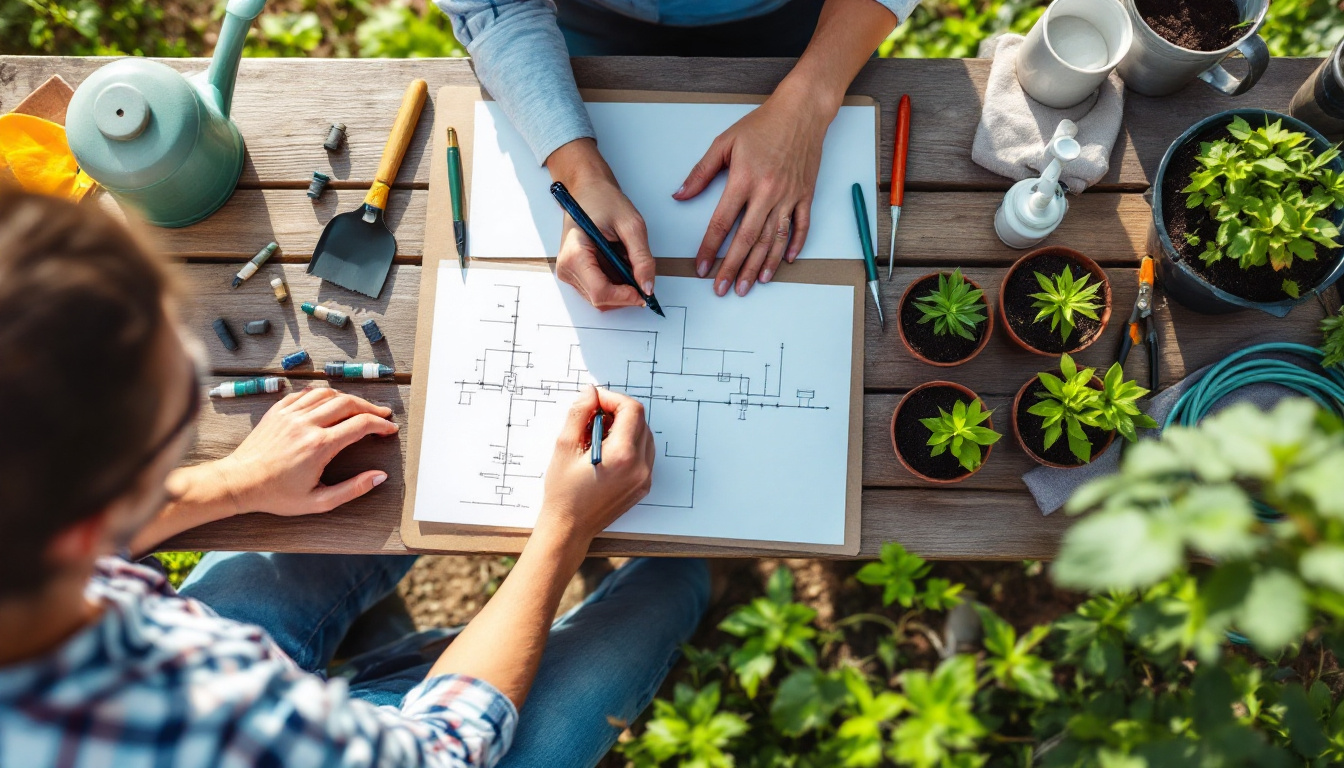
A visual representation of your garden plan is invaluable for successful drip irrigation setup. Sketch a scaled map of your garden, clearly marking the location of each plant or planting zone. On this map, outline your proposed layout for the drip tubing, visualizing how it will reach all areas requiring irrigation. This detailed plan allows you to accurately estimate the amount of tubing, emitters, and other components needed, preventing material shortages or overspending. Furthermore, the map serves as a practical guide during the installation process, ensuring a smooth and efficient setup of your drip irrigation system.
Setting Up and Fine-Tuning Your Drip System
With a well-defined plan in hand, the exciting phase of assembling your drip irrigation system begins. Start by laying out the mainline tubing, which serves as the primary water distribution channel. Follow your garden map to position the tubing, ensuring it extends to all designated plant zones and areas requiring irrigation. Secure the tubing loosely in place, allowing for adjustments as you progress. Remember to leave some extra tubing at the water source connection point for easier connection later. Proper mainline tubing installation forms the backbone of a reliable drip irrigation system.
The next step involves installing the emitters, the components that deliver water directly to your plants. Using a punch tool, create small holes in the mainline tubing at locations precisely adjacent to your plants’ root zones, as indicated on your garden map. Insert the emitters firmly into these holes, ensuring a snug fit to prevent leaks. For plants with higher water needs, consider using emitters with higher flow rates, or install multiple emitters per plant. Double-check that all connections are secure to maintain consistent water pressure throughout the system and minimize water loss.
Once the system is assembled, it’s time to test and fine-tune your drip irrigation setup. Carefully turn on the water supply and thoroughly inspect the entire system for any leaks, loose connections, or misaligned emitters. Observe the water flow from each emitter to ensure it’s consistent and directed appropriately to the plant roots. Adjust emitter placement or flow rates as needed to optimize water delivery to each plant. Make any necessary repairs or adjustments to eliminate leaks and ensure uniform water distribution. This fine-tuning stage is crucial for maximizing the efficiency and effectiveness of your drip irrigation system, leading to a water-wise and thriving garden.